

How To Add AI Features to Your .NET App
Most developers use GPT the wrong way. Here’s how to build real AI features inside a .NET web application.


If you are working with .NET, you might wonder how to actually connect AI to your real project. Not a playground. Not a mock. A real feature that reads your data and returns something useful.
Today you will see how to do exactly that.
We will build a feature where clicking one button will generate a full fantasy backstory for any item using the OpenAI API.
A quick note
If you want to learn how to build complete .NET AI-powered apps step by step, including Blazor UI, EF Core, Vertical Slice Architecture, Copilot workflows, and OpenAI integrations, I just launched a new course called:
👉 .NET Web Development with AI & Copilot
There is a big launch discount right now.
The Example App
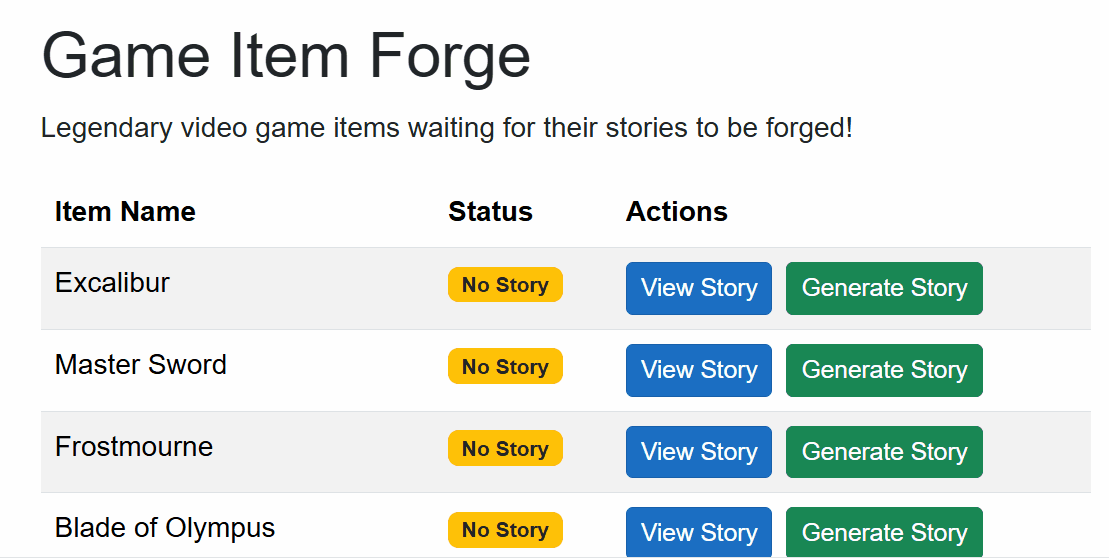
The little demo app is called Game Item Forge.
You see a list of items:
Excalibur
Soul Edge
Portal Gun
And others
Each item has two buttons:
View Story
Generate Story
Right now, nothing happens when you click Generate Story.
Our goal is to make that button call the OpenAI API, generate a story based on the item name, and display it.
Prefer Learning by Watching?
Before we jump into the code, here is the full walkthrough as a video.
If you prefer watching over reading or want to follow along step by step inside Visual Studio, this is a great place to start.
The written guide below follows the exact same steps, so you can choose whichever learning style works best for you.
Step 1
Install the OpenAI NuGet package.

Install the official one.
Step 2
Create the service contract.
public interface IOpenAiService
{
    Task<string> GenerateItemDescriptionAsync(string itemName);
}
One method. One purpose.
Step 3
Create the implementation.
Here is the full service first. Then we will break it down.
public class OpenAiService(IConfiguration configuration) : IOpenAiService
{
    private readonly ChatClient _chatClient = new(
            “gpt-4o-mini”,
            configuration[”OpenAI:ApiKey”]
        );

    public async Task<string> GenerateItemDescriptionAsync(string itemName)
    {
        var messages = new List<ChatMessage>
        {
            new SystemChatMessage(”You are a creative fantasy RPG writer who creates epic item descriptions.”),
            new UserChatMessage($@”Create an epic and engaging backstory for the legendary item called ‘{itemName}’.
                                    The desciption should be 2-3 paragraphs long and include:
                                    - The item’s legendary origin
                                    - Its magical or special properties
                                    - Why adventurers seek it
                                    Make it exciting and immersive!”)
        };

        var result = await _chatClient.CompleteChatAsync(messages);
        return result.Value.Content[0].Text;
    }
}
Now let’s break down what’s happening.
1. We create the OpenAI client
private readonly ChatClient _chatClient = new(
        “gpt-4o-mini”,
        configuration[”OpenAI:ApiKey”]
    );
The model controls cost and quality.
gpt-4.1-miniis fast and cheap, and still very good for this use case.The API key is loaded from configuration and stored in User Secrets.
This ensures the client is ready to answer questions.
2. We build the messages we want to send
var messages = new List<ChatMessage>()
{
    new SystemChatMessage(”You are a creative fantasy RPG writer...”),
    new UserChatMessage($”Create an epic... called {itemName}...”)
};
Two messages:
System message
Tells the model who to act as.
Think of this as the model’s role.
User message
This is the actual instruction.
It includes:
The item name
How long should the output be
What details to include
The tone
This is the same strategy you use when prompting ChatGPT manually, but now you do it through code.
3. We send the request and get a result
var result = await _chatClient.CompleteChatAsync(messages);This calls the model and waits for the generated text.
4. We extract only the returned text
return result.Value.Content[0].Text;The OpenAI response can contain roles, metadata, and token info.
We only need the generated content.
Step 4
Register the service
In the Program.cs:
builder.Services.AddScoped<IOpenAIService, OpenAIService>();Now we can use dependency injection.
Step 5
Call it from the UI
Inject the service:
@inject IOpenAiService OpenAiServiceUse it inside the button click:
private async Task GenerateStory(GameItem item)
{
    generatingItemId = item.Id;
    var description = await OpenAiService.GenerateItemDescriptionAsync(item.Name);
    await GameItemService.UpdateItemDescriptionAsync(item.Id, description);
    items = await GameItemService.GetAllItemsAsync();
    generatingItemId = null;
}
Refresh.
Click Generate Story.
Now the items have lore.
And some of the results are wild. 😅

Want to build more features like this?
My new course goes deeper into real-world examples and complete app workflows.
You will learn how to:
Work with Copilot inside Visual Studio
Build APIs with EF Core and Vertical Slice Architecture
Add OpenAI-powered features
Write tests
And build complete real-world projects
The launch discount ends in two days!
P.S. You can download the complete source code for this tutorial here.